In Exchange 2003 Resource Mailboxes and Shared Mailboxes are often set up as a regular user mailbox. These mailboxes are still possible to migrate using Staged Migration or Cutover Migration, by migrating them as a regular user mailbox. The downside is that they will require an Exchange Online license.
If you are migrating from an Exchange version that supports Hybrid Migration you will be able to migrate resources directly without assigning licenses, but there is a workaround for Cutover and Staged migrations as well.
The process of migrating a Shared Mailbox or Resource Mailbox is as follows:
- Migrate mailbox as regular user mailbox
- Assign license
- Convert mailbox to shared/resource
- Remove license
To convert a user mailbox to a shared mailbox we just need one line of PowerShell. Except from changing the type, we also have to modify the mailbox quotas.
Set-Mailbox -Identity "shared@365lab.net" `
	-Type Shared `
	-IssueWarningQuota 9.5GB `
	-ProhibitSendQuota 9.75GB `
	-ProhibitSendReceiveQuota 10GB
The same thing applies to Resource Mailboxes (Rooms and Equipment). The difference here is that we also want to configure AutoAccept policies and set default access rights to the calendar:
Set-Mailbox -Identity "resource@365lab.net" `
	-Type Room `
	-IssueWarningQuota 9.5GB `
	-ProhibitSendQuota 9.75GB `
	-ProhibitSendReceiveQuota 10GB

Set-CalendarProcessing -Identity "resource@365lab.net" `
	-AutomateProcessing AutoAccept

Add-MailboxFolderPermission "resource@365lab.net:\Calendar" `
	-User Default `
	-AccessRights LimitedDetails
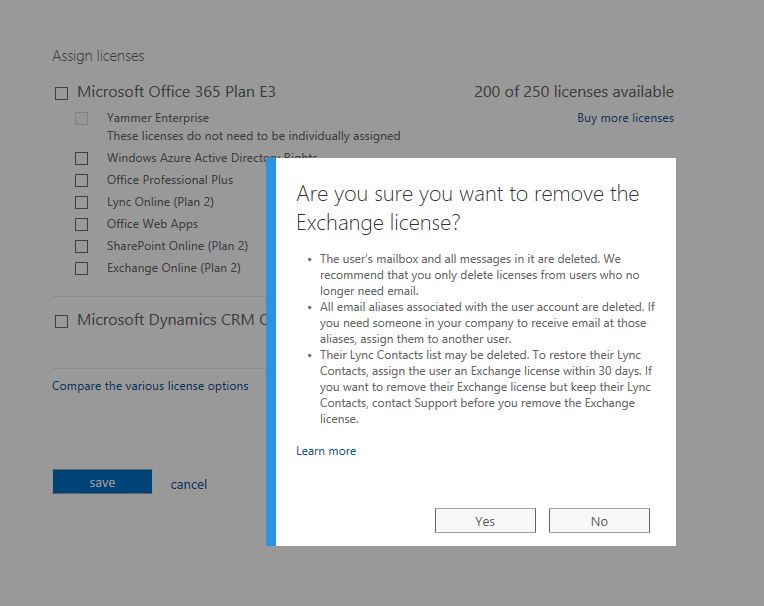
After this is done the license can be removed. You will get a warning that your data will be lost, but it is safe to click Yes on this one.
/ Andreas

Pingback: Exchange Online: How to create a dirsynced Resource Mailbox | Tailspintoys – 365lab.net