This is the last part of 3 in the series where we go through how to create a highly available SSO infrastructure for Office 365 in Microsoft Azure. In this part we will finish off the configuration and put all the pieces together. To make it a bit more interesting, I’ve also decided to try out the Preview of Azure AD Connect to configure the AADSync, ADFS and WAP servers.
Part 1 of the series can be found here.
Part 2 of the series can be found here.
PROMOTING THE DOMAIN CONTROLLER
If you haven’t already promoted your DC in Azure, the following example snippet will promote the domain controller to your existing domain using the the account you’re logged on with. Note that the Database/Log/Sysvol paths has been changed to the additional disk that was added to the DC. We do this since we need to use a separate volume that is not using host caching for the AD databases in Azure.The server will also automatically reboot after the promotion has been done.
Import-Module ADDSDeployment
$DCPromotionSettings = @{
    NoGlobalCatalog = $false
    CreateDnsDelegation = $false
    CriticalReplicationOnly = $false
    DatabasePath = "F:\Windows\NTDS"
    LogPath = "F:\Windows\NTDS"
    SysvolPath = "F:\Windows\SYSVOL"
    DomainName = "365lab.internal"
    InstallDns = $true
    NoRebootOnCompletion = $false
    SiteName = "Azure-IAAS-Dublin"
    Force = $true
    SafeModeAdministratorPassword = (ConvertTo-SecureString -String 'YourStrongDSRMPassword!' -AsPlainText -Force)
}
Install-ADDSDomainController @DCPromotionSettings
AZURE AD CONNECT?
Instead of using pure PowerShell to configure the servers, I’ve chosen to use the new Azure AD Connect Preview, a one stop shopping-wizard for setup and configuring AADSync, ADFS, WAP against Azure AD. Sounds very promising right?
GETTING THROUGH THE WIZARD
1. Download and install(AzureADConnect.msi) the tool from here. In my case I am running the wizard on the AZURE-AADSYNC1 server.
2. Go through the Prerequisite and Azure tenant wizard as below. Your Azure AD Credentials should of course be a service Account with Global administrator permissions.


3. Since we want to deploy ADFS and WAP during the installation, we click customize to be able to do that.

4. Single sign on it is! In this example we’ll use the federation service name of sts.adfs.guru.

5. Set up connections to your AD forest(s). Note that the credentials used here should be a proper configured service account. Check out this script for a good way to configure delegation on the service account.


6. In my case I’ll have both an Exchange Hybrid deployment and Password Write back through AADP enabled.

7. Since I have only have one forest/domain, I’m just using the default settings for the next two steps.


8. Import the .pfx file for your service. In my case I have a certificate with the CN sts.adfs.guru that will be imported to all ADFS and WAP machines. If you want to set up this in a lab environment, you can use startssl.com (gives you 1 year free single name certificates trusted by most browsers).

9. Now point out your ADFS and WAP servers, in my case I have two of each (as deployed in the last post). Note that you will not be able to add the servers to the wizard unless they have PS Remoting enabled. This can be enabled by running the PowerShell command ‘Enable-PSRemoting -Force’ on each machine (or put it in the deployment script :))

The server with only lower case letters will be the primary ADFS server in the farm.

It gives me a warning regarding the WAP servers since I’ve pre-deployed the WAP role.
10. Now specificy an account with Local Admin credentials on the primary ADFS server, in order to create a trust between the WAP servers and the federation servers.

11. Choose which service Account that should be used for the ADFS farm. I do recommend using Group Managed Service accounts if possible (requires minimum 2012 DC’s). In the GMSA case, the wizard will actually create a KDS Root key in your domain if you haven’t one since before. Note that this is also done with WinRM through the Domain Controller, so make sure you have that enabled there as well.

12. Choose the domain you want to use for the Federated setup. As it seems right now with this preview, you can only create federation for one domain.

13. Review your configuration. If don’t want to start off by synchronize your entire directory, uncheck “Start the synchronization..” and look in to the following site on how to filter your synchronization scope. Fire off the installation by clicking Install.

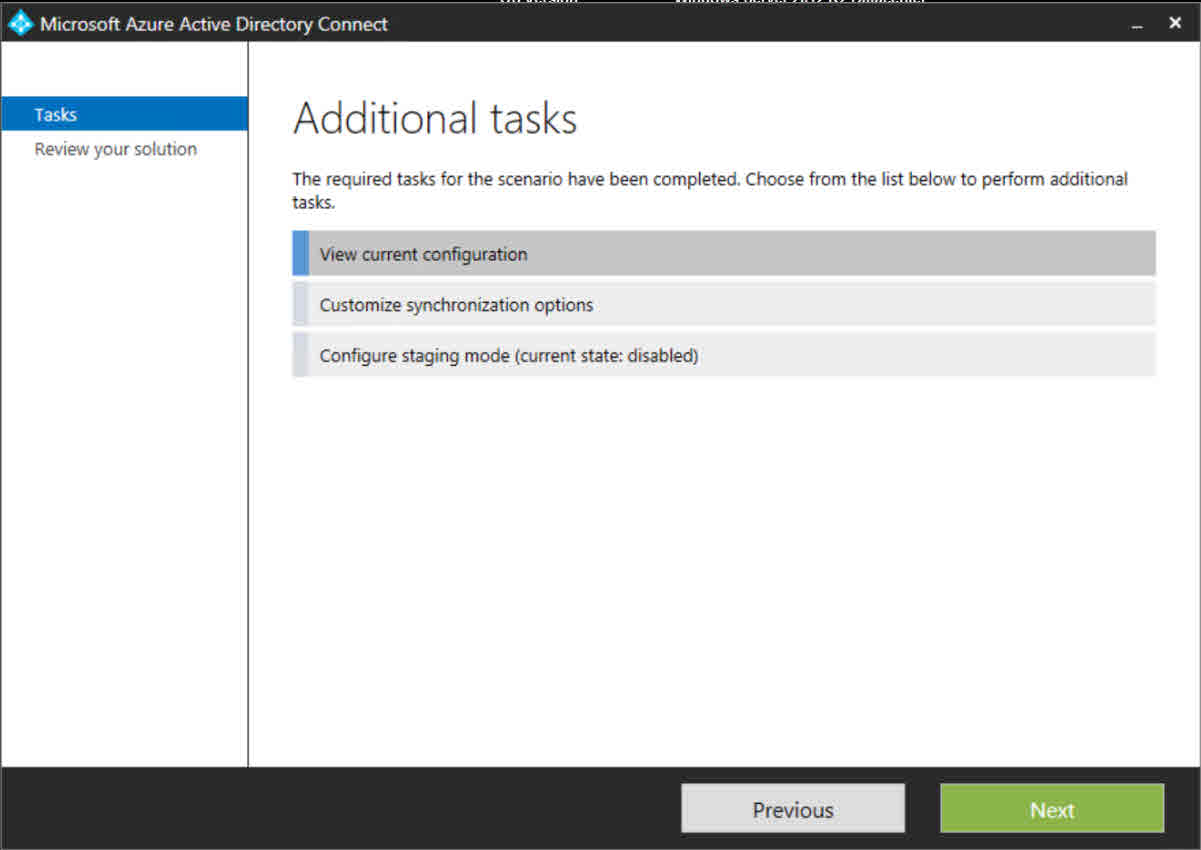
14. Installation complete! PUH! If you run in to any errors during the installation, or cancel the installation, you’ll be able to continue from where you left.

As seen above, you’ll also have the option of verifying your ADFS service DNS records.
In my case, I’ve configured the service name to point to the Azure Internal Load balancer IP (10.255.255.10) internally, and to the WAP Cloud service name externally (365lab-wap1.cloudapp.net), as seen below:

If you don’t want to rely on your VPN Connection for the internal STS, you could publish the internal ADFS farm through the external cloud service name, and create access rules to only allow your external public IP’s.

And my DNS records turned out to be OK according to the wizard! 🙂
AZURE AD CONNECT – VERDICT
In a very simple to understand wizard we’ve done a normally quite complex task as easy as it can possibly be. The end result in this case is an highly available SSO Identity infrastructure with a little help of Azure IAAS. One thing to be aware of though (might be changed later since this is a preview):
Since the AAD Connect Wizard (Preview) only supports one domain, it will convert the the domain to federated without the -SupportMultipleDomain. This means you’ll have to convert the first domain to standard and then back again using the -SupportMultipleDomain switch if federating with more than vanity domain. Hopefully this is something that will change when it goes RTM.
SUMMARY
We have now finished configuring with our highly available SSO Identity infrastructure for our Office 365/Azure Active Directory. Not to hard with the help of PowerShell and the new Azure AD Connect Wizard. I will follow this series up with some additional topics with more detailed information regarding how to create firewall rules between our subnets in Azure, and more.
If you have any questions or suggestions, let me know!
/Johan